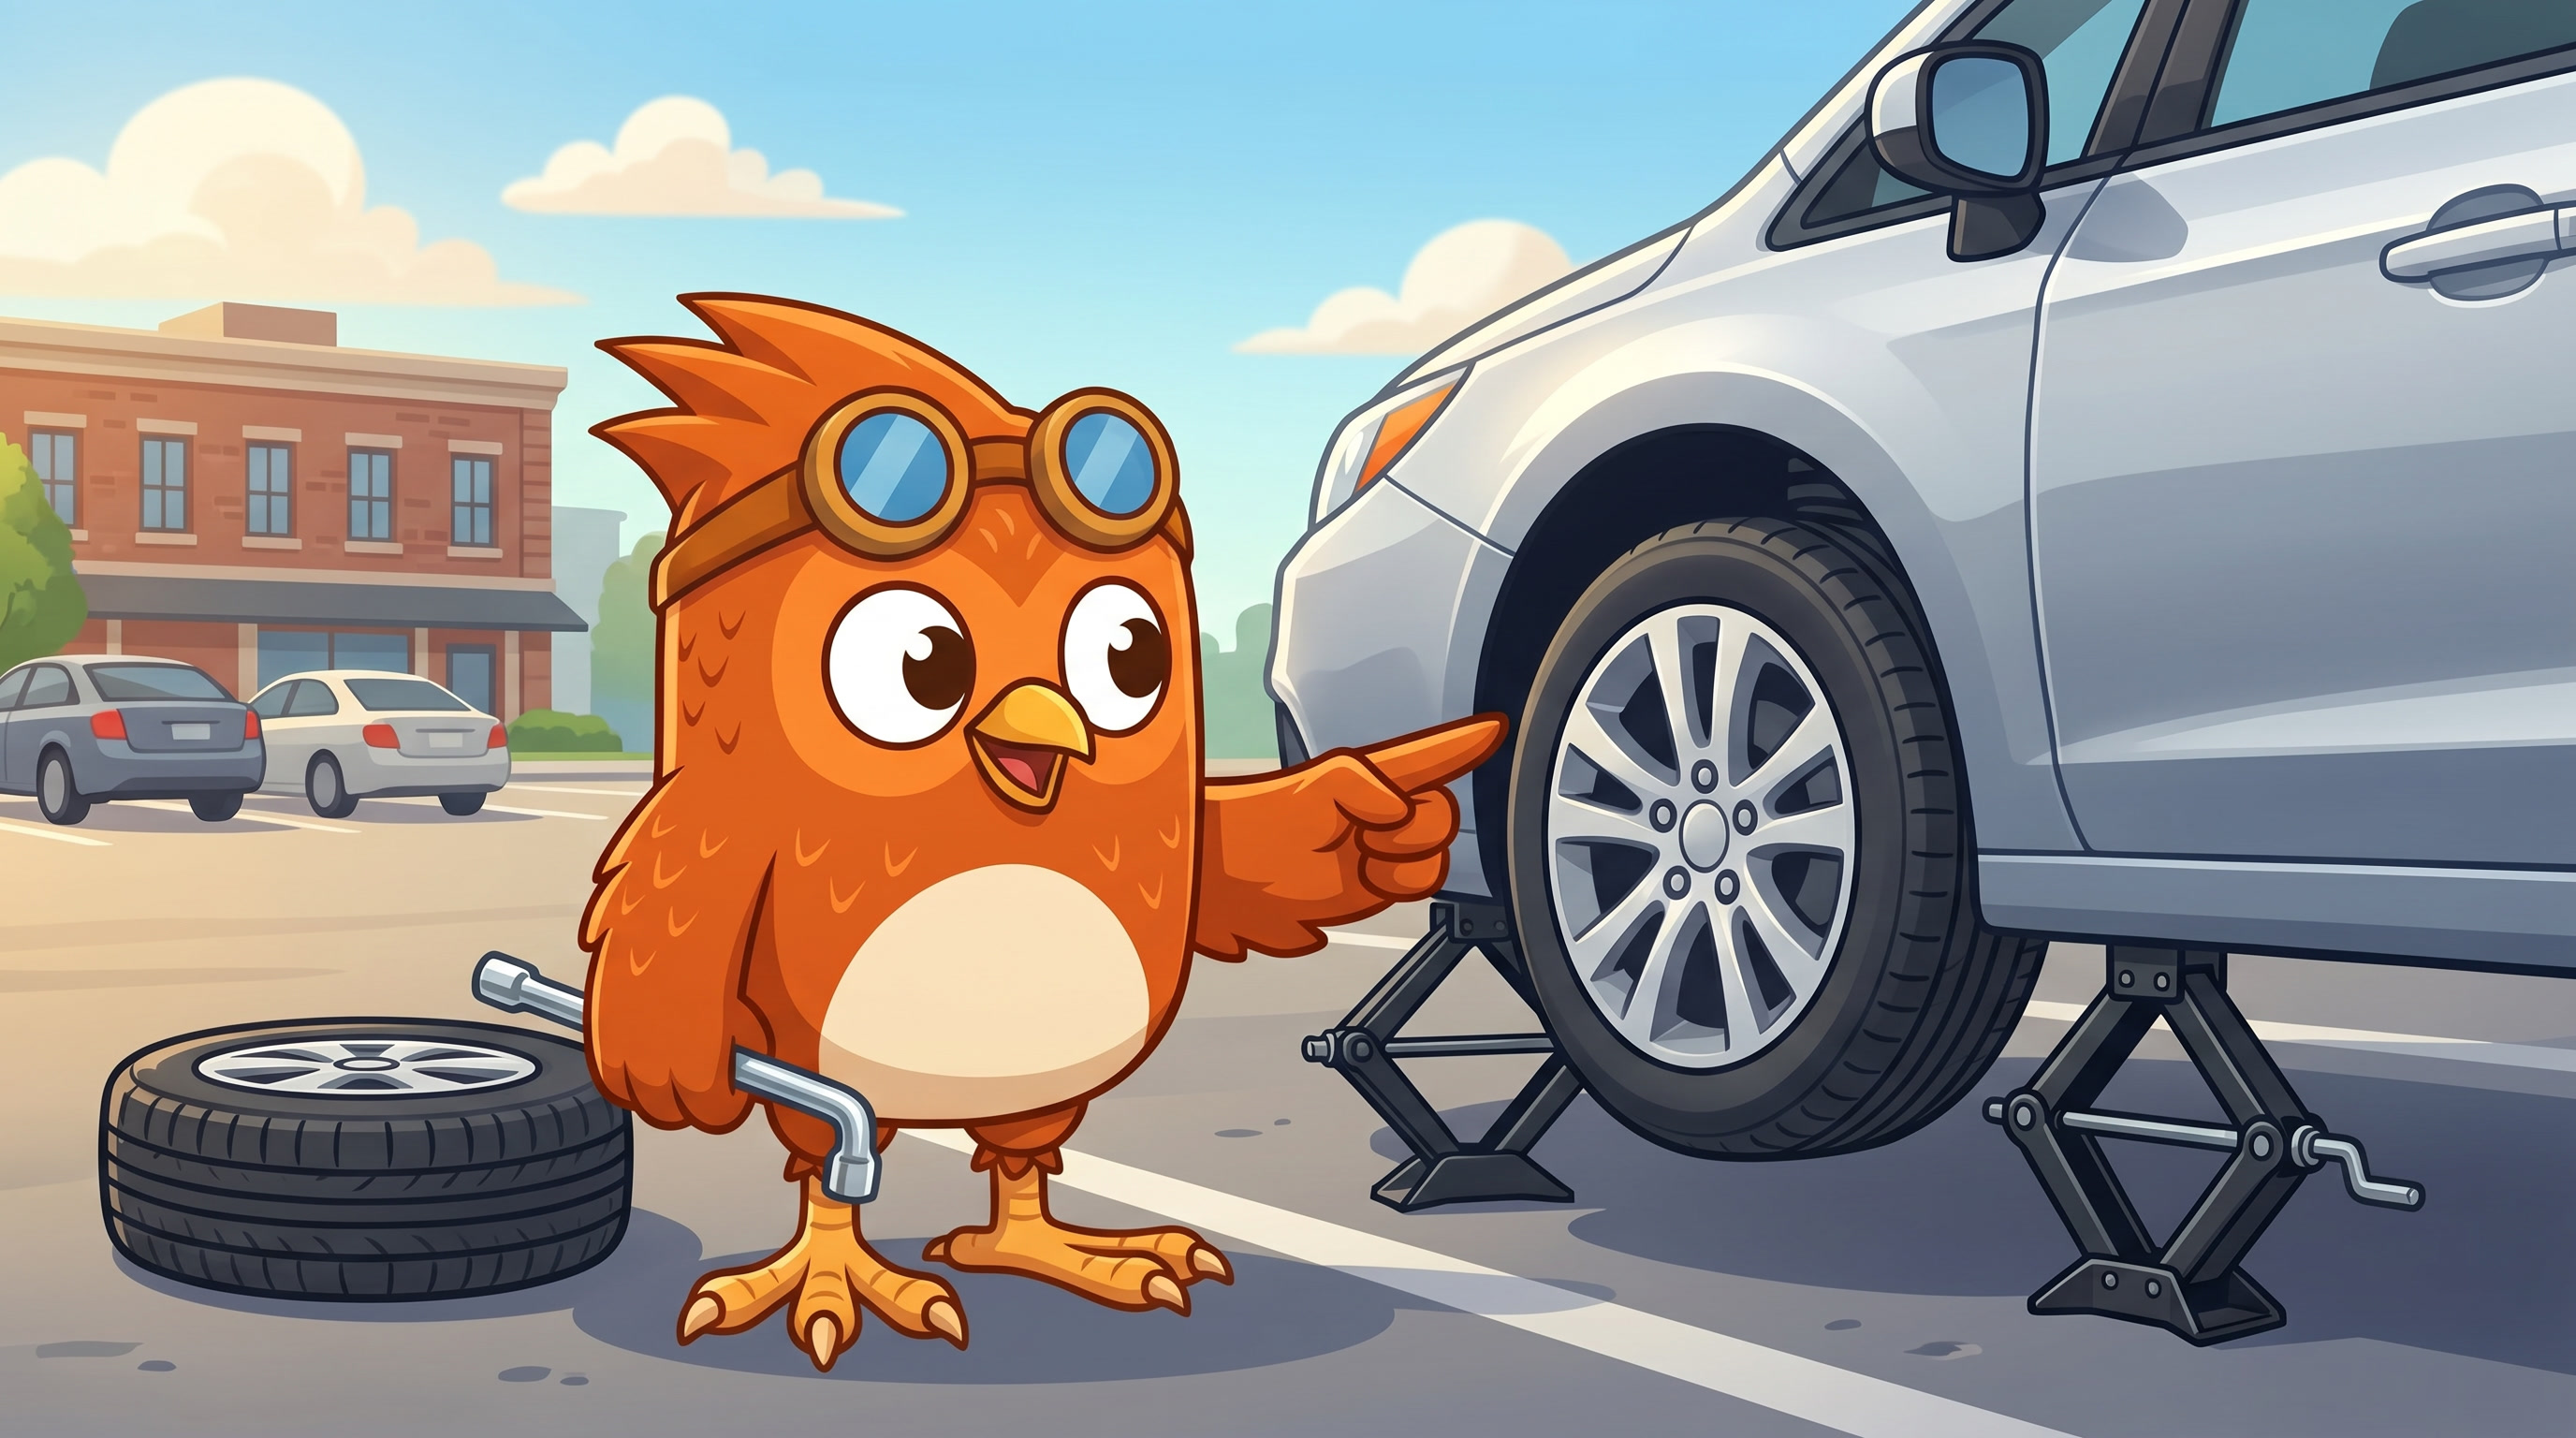
Learn how to change a flat tire safely in 8 steps. This beginner-friendly guide includes what tools you need and safety tips for any driver.
You're driving along a normal Wednesday afternoon when you hear it—a thump and a hissing sound. Your heart sinks. You've got a flat tire.
If you're a new driver, this moment might feel like a crisis. It's not. Changing a flat tire is one of those skills that seems mysterious until you do it once, and then you realize you've just mastered something genuinely useful. Most flat tire changes take 15-30 minutes, and after this guide, you'll know exactly what to do.
Yes, you can call roadside assistance (and you should if you don't feel safe). But knowing how to change your own tire gives you independence, saves you money, and proves to yourself that you can handle unexpected situations on the road. That confidence matters, especially when you're a new driver preparing for your driving test.
A flat tire doesn't always announce itself dramatically. Some signs:
Whatever you notice, don't panic. Don't slam on the brakes. Instead:
Before you start, assess the situation:
For a straightforward flat on a quiet street or empty parking lot? You've got this.
Most vehicles come with these items in the trunk. Before you need them, find yours:
| Item | What It Is | Where to Find It |
|---|---|---|
| Jack | Metal tool that lifts your car (usually diamond-shaped or scissor-type) | Trunk, often under the spare tire |
| Lug wrench | Four-sided metal tool that removes lug nuts (the bolts holding the wheel) | Trunk, usually near the jack |
| Spare tire | The replacement wheel (either a full-size spare or a smaller "donut") | Under the trunk floor or on the back (trucks) |
| Wheel wedges | Blocks to prevent your car from rolling (optional but recommended) | In your emergency kit, or use rocks/bricks |
| Work gloves | Protect your hands from dirt and sharp edges | Your emergency kit |
| Flashlight | If you get a flat at night | Your emergency kit |
Pro tip: Pop open your trunk right now and locate these items. Take a photo with your phone. You'll be glad you did if you ever need to change a tire in the dark.
Optional but helpful to add to your emergency kit:
What to do:
Why it matters: Your car must be completely stable before you lift it. Even a small shift could be dangerous.
Real story: Jessica, a new driver from Texas, told us: "I was so nervous about the car rolling while I changed my tire. The wedges under the wheels made me feel secure. I actually felt in control of the situation, which meant I could focus on the actual tire change instead of worrying."
What to do:
Why it matters: This is one of the most important steps. Lug nuts are tight, and it's much easier to loosen them while your full car weight is pressing the wheel down. If you try to loosen them after jacking up the car, the wheel will spin and you'll struggle.
Pro tip: If a lug nut is stuck, try spraying it with WD-40 and waiting 30 seconds. Use the longest part of the lug wrench possible for better leverage. If it's still stuck, this is a good time to call for help—don't strip the bolt.
What to do:
Why it matters: Jacking under the wrong spot can damage your car's frame. The wrong ground can cause the jack to slip.
Don't: Never jack the car from the bumper, floor pan, or any area not designed for jacking.
What to do:
Why it matters: You want just enough clearance to remove and replace the tire. Too high is unstable; too low and your new tire won't fit.
Caution: Keep your hands and feet clear of the car during jacking. If the jack fails and the car drops, you don't want anything underneath it.
What to do:
Why it matters: Losing a lug nut is frustrating but fixable; you can drive slowly to a tire shop with three nuts per wheel. But keeping them together makes reinstallation easier.
Real story: Marcus, a driving instructor, shared: "I always tell students to put lug nuts in their hat or a cup if they have one. That way, they're contained and you won't accidentally kick one away."
What to do:
Why it matters: The tire must be seated properly before you tighten the lug nuts, or they won't thread correctly.
What to do:
Why it matters: Don't fully tighten yet. You'll do the final tightening after the car is back on the ground (Step 9). For now, just make sure they're snug enough that the tire won't fall off when you lower the car.
Pro tip: Tighten in a star or X pattern (opposite sides alternately) rather than going around. This ensures even pressure.
What to do:
Why it matters: Gradual lowering prevents the car from dropping suddenly and injuring you.
What to do:
Why it matters: Properly tightened lug nuts prevent your wheel from loosening and falling off while driving. This is critical.
How tight is tight? If you're using a standard lug wrench, you should feel a noticeable amount of resistance, but you shouldn't need to exert maximum force. Some newer cars have lug nuts that don't need extreme tightening; check your manual.
What to do:
Why it matters: Spare tires, especially donuts, aren't designed for long-term driving. Get to a professional as soon as possible. They'll repair the flat if it's a simple puncture, or replace it if it's too damaged.
| Step | Action | Duration | Important Notes |
|---|---|---|---|
| 1 | Safely position car; engage parking brake; place wheel wedges | 2 min | Choose a safe, flat location away from traffic |
| 2 | Loosen lug nuts with car on ground | 3 min | Turn counterclockwise; don't fully remove yet |
| 3 | Position jack under jacking point | 2 min | Consult your owner's manual for jacking point location |
| 4 | Jack up car 6 inches | 3 min | Smooth, controlled lifting; ensure stability |
| 5 | Remove lug nuts; pull off flat tire | 3 min | Keep lug nuts together in one place |
| 6 | Install spare tire onto studs | 2 min | Push until flush; use body weight if needed |
| 7 | Hand-tighten lug nuts; use wrench to snug them | 3 min | Tighten in star pattern; don't fully tighten yet |
| 8 | Lower car to ground | 3 min | Smooth, controlled lowering |
| 9 | Fully tighten lug nuts in star pattern | 3 min | Firm, even pressure; test by tugging on wrench |
| 10 | Pack up; drive to tire shop at normal speed | 5-30 min | Donut spares: max 50 MPH, 50 miles |
| TOTAL | 25-30 min | Includes safe driving to shop |
The fastest way to pass your test is consistent practice with real questions. Try Wheelingo free — state-specific questions, instant explanations, and a readiness score that tells you when you're ready.
Q: Should I change my tire in the dark/rain/on a highway?
A: If you feel unsafe—on a busy highway, in darkness without a flashlight, or in severe weather—call roadside assistance. There's no shame in this. Your safety is the priority.
Q: How do I know if my spare tire is good?
A: Check the spare tire pressure monthly. Use the pressure listed on the spare itself (not the door jamb). Many spare tires over time and should be replaced if they're older than 10 years or look damaged.
Q: What if I don't have a jack?
A: Every car comes with a jack. Check under the spare tire or in your trunk's side panel. If yours is missing, buy a universal jack (around $20-30) from an auto parts store.
Q: Can I drive long distances on a donut spare?
A: No. Donut spares are temporary—max 50 miles at 50 MPH. Get your tire repaired or replaced as soon as possible.
Q: What if my tire has a hole bigger than 1/4 inch?
A: Punctures larger than 1/4 inch usually can't be safely repaired. You'll need a new tire. A tire shop can tell you.
Q: Should I keep the flat tire or throw it away?
A: Small punctures (from nails, screws) can often be repaired cheaply at a tire shop ($10-20). Larger damage or sidewall punctures require replacement. Let a professional assess it.
Here's our recommendation: on a calm weekend, ask a friend or family member to teach you how to change your car's specific tire. This takes the mystery out of the tools and the process. You'll know where everything is, how the jack works with your specific car, and you'll feel genuinely prepared.
New drivers who've done this—even just once—report feeling more confident on the road. And that's what it's really about. You don't need to be a mechanic. You just need to know you can handle the unexpected.
Changing a tire is one skill in a larger toolkit for confident driving:
For more detailed vehicle maintenance:
Changing a flat tire isn't a skill reserved for mechanics or experienced drivers. It's something you—yes, you—can learn and master in about 30 minutes. The real barrier isn't difficulty; it's confidence. And confidence comes from knowing the steps, having the right tools, and understanding that it's OK to call for help if you don't feel safe.
Before your next drive, locate your jack, lug wrench, and spare tire. Take a photo. That simple five-minute step could save you hours of stress if you ever get a flat. And if you do get one, you'll know exactly what to do.
You've got this. And if you need to build confidence in other driving skills, practice with Wheelingo to master everything from emergency braking to navigation before test day.
Last updated: April 16, 2026